
On June 6 Rome will experience an extraordinary music festival. The first of its kind in Italy to feature some of the worlds most creative live looping musicians.
Rick Walker (CA-USA) Headliner
Michael Peters (DE) Featured performer
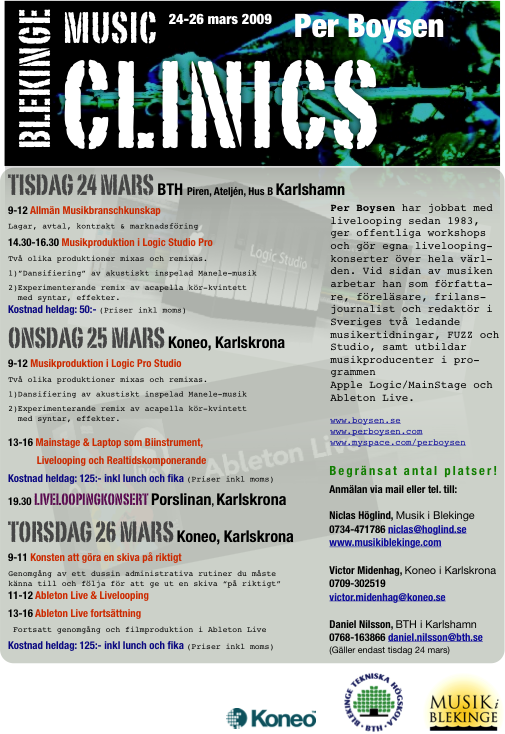
Per Boysen (SE) Featured performer
Bernhard Wagner (CH)[……]
 [……]
[……] To prepare the workshop I started playing around with my own crappy cell phone video clips[……]